DIY Camera Bag
Jul 15So I recently purchased a Canon 40D. And there is a whole world of accessories out there. For the first couple of weeks I was keeping my camera in a FedEx bag because it is:
- inconspicuous
- cheap
- slightly padded
- water resistant
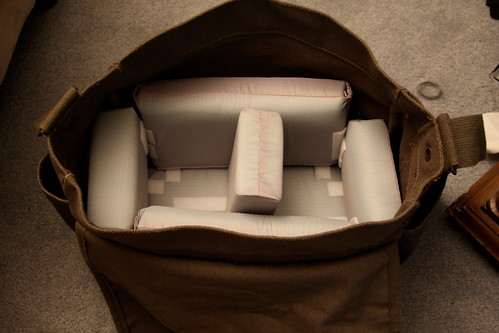
That seems like a pretty good list to me! But alas I knew that it could not last. Unfortunately, bags (from companies that market them as camera bags) are fairly overpriced. Okay they’re not terribly expensive compared to the actual camera, but I rather enjoyed some of the unique aspects of my FedEx bag. I wanted to keep most of its positive attributes without having to bear the shame of actually holding a FedEx bag all of the time. Here is my bag.
First I got:
- a canvas bag from my local Army/Navy military surplus store, which was a lot less rugged than I would have imagined
- craft foam and ripstop nylon fabric from JoAnn Fabric and Crafts (the higher quality foam that I wanted to buy online had an unfortunately prohibitive shipping cost that was higher than the foam itself)
- cardboard from a shipping box that I already had
- my sewing machine (which isn’t actually mine and which I had never used before this project)
- velcro with adhesive backing (I already had this)

My idea was to create my own padded inserts to put into the canvas bag. I was going to use the craft foam as the filler, cardboard to stiffen the insert, and the nylon to wrap the whole deal. I made a number of inserts, and each of them had a similar method of creation.
I guess that I didn’t take any pictures of my initial steps, but all I did was measure and cut the desired size of foam, cardboard, and nylon. I cut enough nylon to wrap the foam and cardboard like a present.
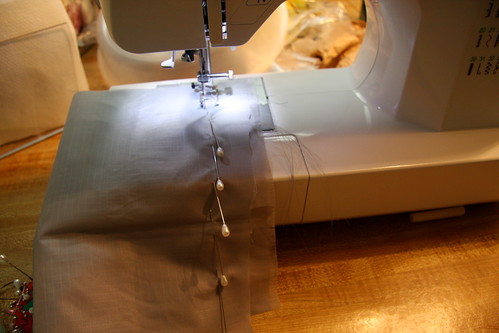
Next I pinned the fabric according to how tight I wanted it to be around the foam. I generally was going for pretty tight because I thought that it would give it a more professional appearance. For the most part I think that was correct because I saw other examples of loosely wrapped inserts that people made online that did not look as nice.

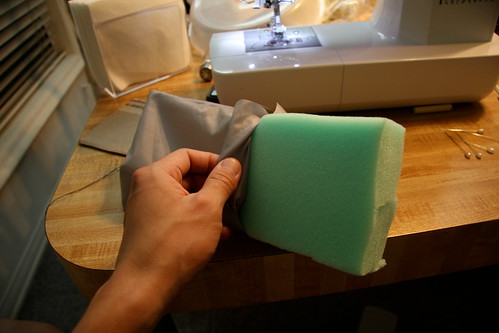
I inserted the foam and cardboard into the sewn nylon. This was actually one of the most difficult steps because the nylon was getting sewn with the intent of there being a tight fit. And a tight fit it was! I was able to eventually get all of them into their nylon sleeves, but some of them were quite difficult.

I then closed up the nylon and pinned it so that I could hand stitch it.

I used (or tried to use) a hidden stitch when I was hand stitching.

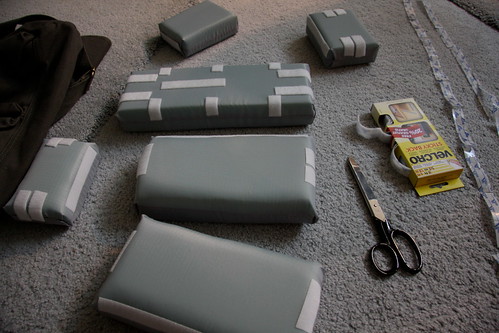
So I repeated that process a number of times so that I could have the appropriate number of bag inserts.

My final step was to attach some velcro so that the pieces would hold their form. I’m still working on this step, though, because I have since found that the adhesive on the velcro is insufficient to keep the velcro on the nylon. I am pretty sure that using some kind of glue (maybe even fabric or super) will do the trick.


It’s fairly inconspicuous, modestly priced (total for everything is under $50 compared to over $100 for the bags that I wanted, and I have leftover material), padded, and now I have skills that I didn’t have before!
Of course, if after reading this you decide that it’s still not worth it to sew all of the inserts yourself then you could just buy a commercial camera bag insert like this one, and put it into whatever bag you want.
Inspiration came from: